Using a Flight Recorder
Using an GyroFX Flight recorder is very simple. Insert a 9V battery; insert a micro SD card and switch on before you start the engine. When you turn off the engine remove the SD card; put the battery on charge and upload the flight data to GyroFX.
Battery
The GyroFX Flight Recorder uses a standard PP3 9Volt battery. Tests have shown that a standard Duracell Plus PP3 will reliably last 2 hours with a current draw of 150mA.
Rechargeable batteries will be more economic in the long term and there are a number of Lithium-ion batteries on the market. For syndicates and flying schools, where a number of pilots will be sharing one Flight Recorder, a number of rechargeable batteries are a good idea with each pilot using a battery for one flight and then putting it back on charge.
SD Card
The flight path data is recorded onto a micro SD card. Tests have shown that, because of the high rate of data storage, the flight recorder needs a high performance SD card. In addition, the MAXIMUM size of the SD card is 32 GB.
We strongly recommend the SanDisk 32GB EXTREME micro SD Card, which can be bought on Amazon. Make sure that it is the EXTREME version; the Ultra range is not good enough.
For syndicates and flying schools, where a number of pilots will be sharing one Flight Recorder, it is recommended that each pilot purchase an SD card. The card can be inserted into the flight recorder at the beginning of a flight, removed at the end of the flight and then taken home to upload the data to GyroFX.
USB Port
There is a USB port on the GyroFX Flight recorder. This is used to connect the device to a computer when calibration or updating of the firmware is required. This is normally done by GyroFX.
Using the Flight Recorder
- Insert an SD Card into the slot on the right hand side of the flight recorder.
- Insert a PP3 battery into the battery drawer, ensuring that the polarity orientation is observed. Insert the drawer into the flight recorder and ensure that it has latched shut.
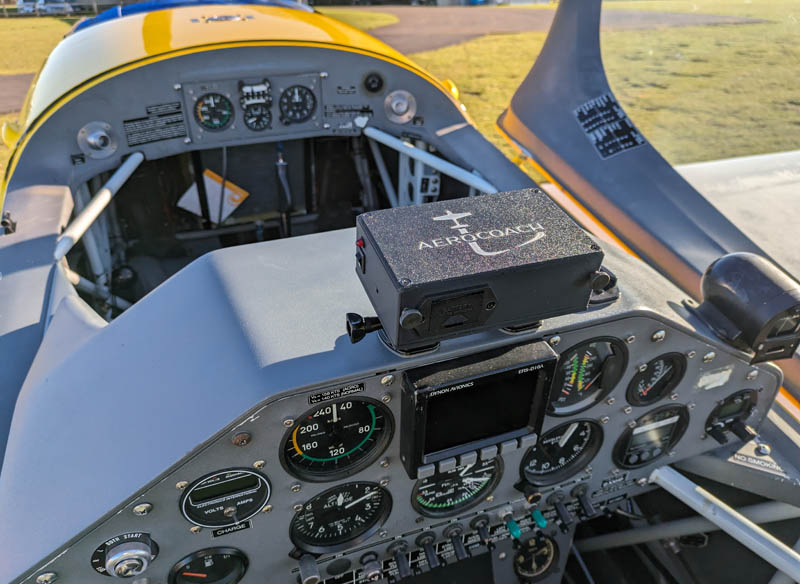
- Ensure that the flight recorder is securely attached to the aircraft mounting and that the aircraft logo on the top is pointing forward. The battery drawer and SD card holder should be facing the rear of the aircraft.
- Pivot the flight recorder so that the top surface would be horizontal when the aircraft is IN LEVEL FLIGHT. If you have a tail-dragger, then this can be difficult to achieve exactly. Any small errors in leveling the device can be corrected by entering a pitch offset after you load your flight into GyroFX. Similarly, any roll variation can be adjusted.
- THE FLIGHT RECORDER NEEDS A COUPLE OF MINUTES TO INITIALISE THE SENSORS AND GPS POSITION, SO IT SHOULD BE TURNED ON BEFORE YOU START YOUR ENGINE. IT IS A GOOD IDEA TO SWITCH IT ON AS SOON AS YOU SIT IN THE AIRCRAFT, AT THE BEGINNING OF YOUR PRESTART CHECKS.
- Go fly
- Upon return to the airfield, turn off the flight recorder. Remove the battery and put on charge. Extract the SD card, insert it into an SD card reader and load the BIN file into GyroFX
© 2025 GyroFX.net